As we all know that android based phones are so popular in the market with their features and flexibility. Now with lots of new Android tablet PCs popping up every week, you can now have this excellent OS on your tablets as well. However, going one more step ahead, have you ever tried the same on PC? With so many technological changes, it is really fun to implement and inculcate some viable changes in your life as well. Here we shall have a look on how to install android on PC and to get a new experience all together on your PC. This is something that will be fun and you will feel one step ahead of others for sure. Since this technology is now becoming popular on non-mobile platforms as well you should take advantage of these guides and tutorials that help you learn everything step by step. With Google releasing Android 3.0 Honeycomb specifically targeting tablet PCs, you shouldn’t be surprised if we see one for a normal PC or laptop in near future, officially from Google. But till then, we can be one step ahead of Google and try it out ourselves right now!
How to install Android on PC
To install Android on PC follow the steps as given below. Thanks to the developers at Android X86. Note that Android x86 can be installed on NTFS, FAT32 (Windows), EXT3 or EXT2 (Linux) partitions.
- First download the Android x86 package from here.
- Now you can either make a bootable USB drive which is the recommended procedure or burn a bootable disk from the ISO image file which you just downloaded.
- Shut down your system and insert the bootable disc or USB drive which you made earlier and restart the system.
- Now, if you had already set you optical device as first boot priority/order, then you will get a screen to install Android x86. Or else if change the boot order to you optical drive or USB drive and restart the system.
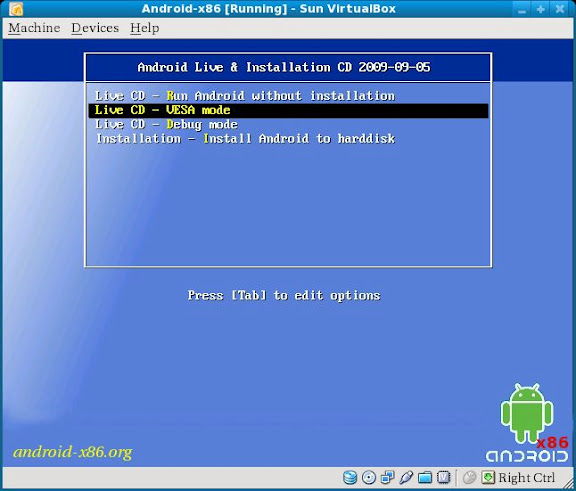
- When the system is restarted, you will get an installation screen asking to select either of the 4 options:
- Live CD – Run Android without installation
- Live CD – VESA Mode
- Live CD – Debug Mode
- Installation – Install Android to hard disk
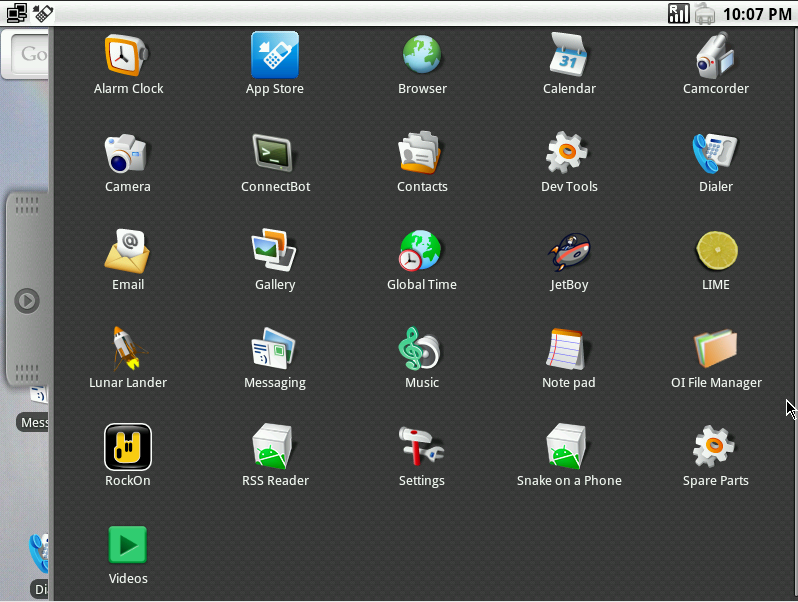
- Select the fourth option : ‘Install Android to hard disk‘ to start installation. If you want to run Android like a live CD then select the first option.
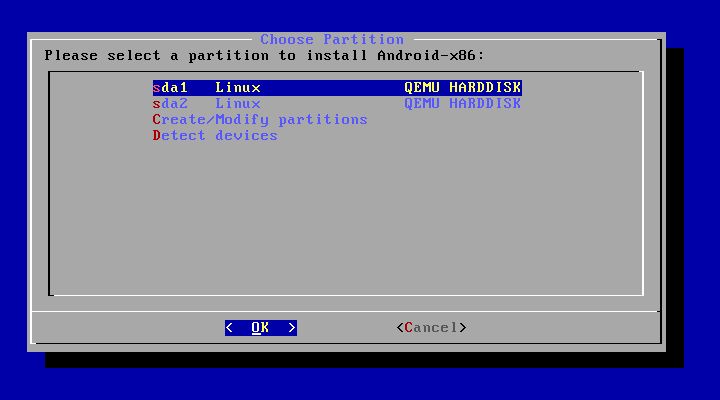
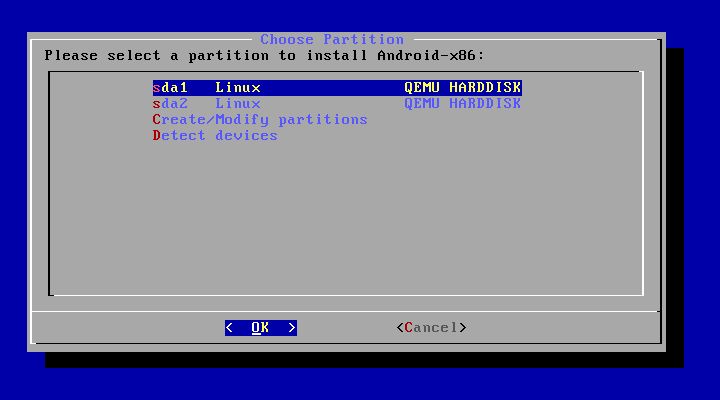
- After you hit the Install Android to hard disk option, you will get a screen asking to select the partition. Either you select an existing partition which you created earlier to install android on pc or you can create one now with ‘Create/Modify partitions’ button. One good thing about this is that you can even install it on your portable devices like pen drive or external hard disk. In any case if your external drive is not shown in the list then try clicking ‘Detect devices’ button.
- After you hit the OK button on this screen, it will ask to format the disk in the desired format. Android x86 can co-exist with other OS or data which are already in the selected partition. So in case you do not want to delete the contents of existing partition, select ‘Do not format’ option. Or else you can wipe out all data and have a fresh formatted partition.
Note: Do not select FAT32 to format. Android x86 cannot write or save data to a FAT32 system. So if you select FAT32 then it will show a warning about the issue. If you ignore and install with it then this installation will work like a live CD.
- Next screen you will be asked to install Boot loader GRUB. Click ‘Yes’ unless you know or want to install boot loader manually by yourself.
- If you did everything correctly, you will see an installation progress screen. After a few minutes, you can see an installation success screen and will ask to run Android or reboot.
Congratulations! You have successfully installed Android on your PC.
In our next post we shall show you how to run Android on Windows system as an emulator. We will be updating more such developments on Android like root Samsung phones or installing custom rom on HTC, SonyEricsson or other Android Phones. We hope that the above post will be useful to you and you will be able to take advantage of the new technological enhancements that you may tame to keep up with the developments.


nice one bro i think this first thing i need to do wen i get online. once more thanks for sharing
Good, do share your experiece installing and if you have any doubts while installation or using the same, do comment here, we will be happy to help you out.
Hey Vinod,
I got a Toshiba Satellite laptop. But Toshiba is not there in the specification of Android OS.
Which one should I download?
Nice trick, As android is one of the popular OS, hence every one wants to use it on their devices…
I think this will help many of us
Thanks for sharing it here…
Nice and helpful tutorial.
Thanks for sharing.
I was waiting a a tutorial and finally got the best one, thanks a lot, hope this will help me get android on my laptop 🙂
I managed to get Android Virtual Device on my PC with Android’s SDK, it was very tough. Wish I saw this earlier.